When I first ventured into home automation, like many, I started with Alexa. Voice commands and plug-and-play devices felt futuristic—until I began hitting limitations. Many devices required separate hubs, cloud access, or their own apps just to function. Even something as simple as turning on a socket often involved sending a request to a remote server before the action happened locally. The delay, fragmentation, and privacy concerns all started piling up. That’s when I turned to Home Assistant.
Today, my entire flat runs on Home Assistant Yellow, which comes with a built-in Zigbee radio and is built specifically for local-first automation. It was a game-changer. I went from juggling multiple ecosystems to a cohesive, responsive, and private smart home that works exactly the way I want.
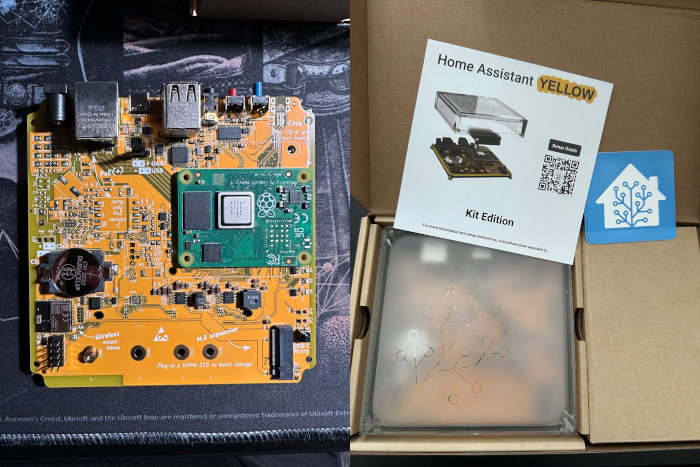
Why Home Assistant?
The biggest draw was flexibility and local control. Unlike Alexa or Google Home, Home Assistant doesn’t depend on the cloud to work. That means no delays, no vendor lock-in, and no worries if the internet goes down. Nearly all my devices now run on Zigbee, connecting directly to the Home Assistant Yellow hub. This drastically reduced latency and increased reliability.
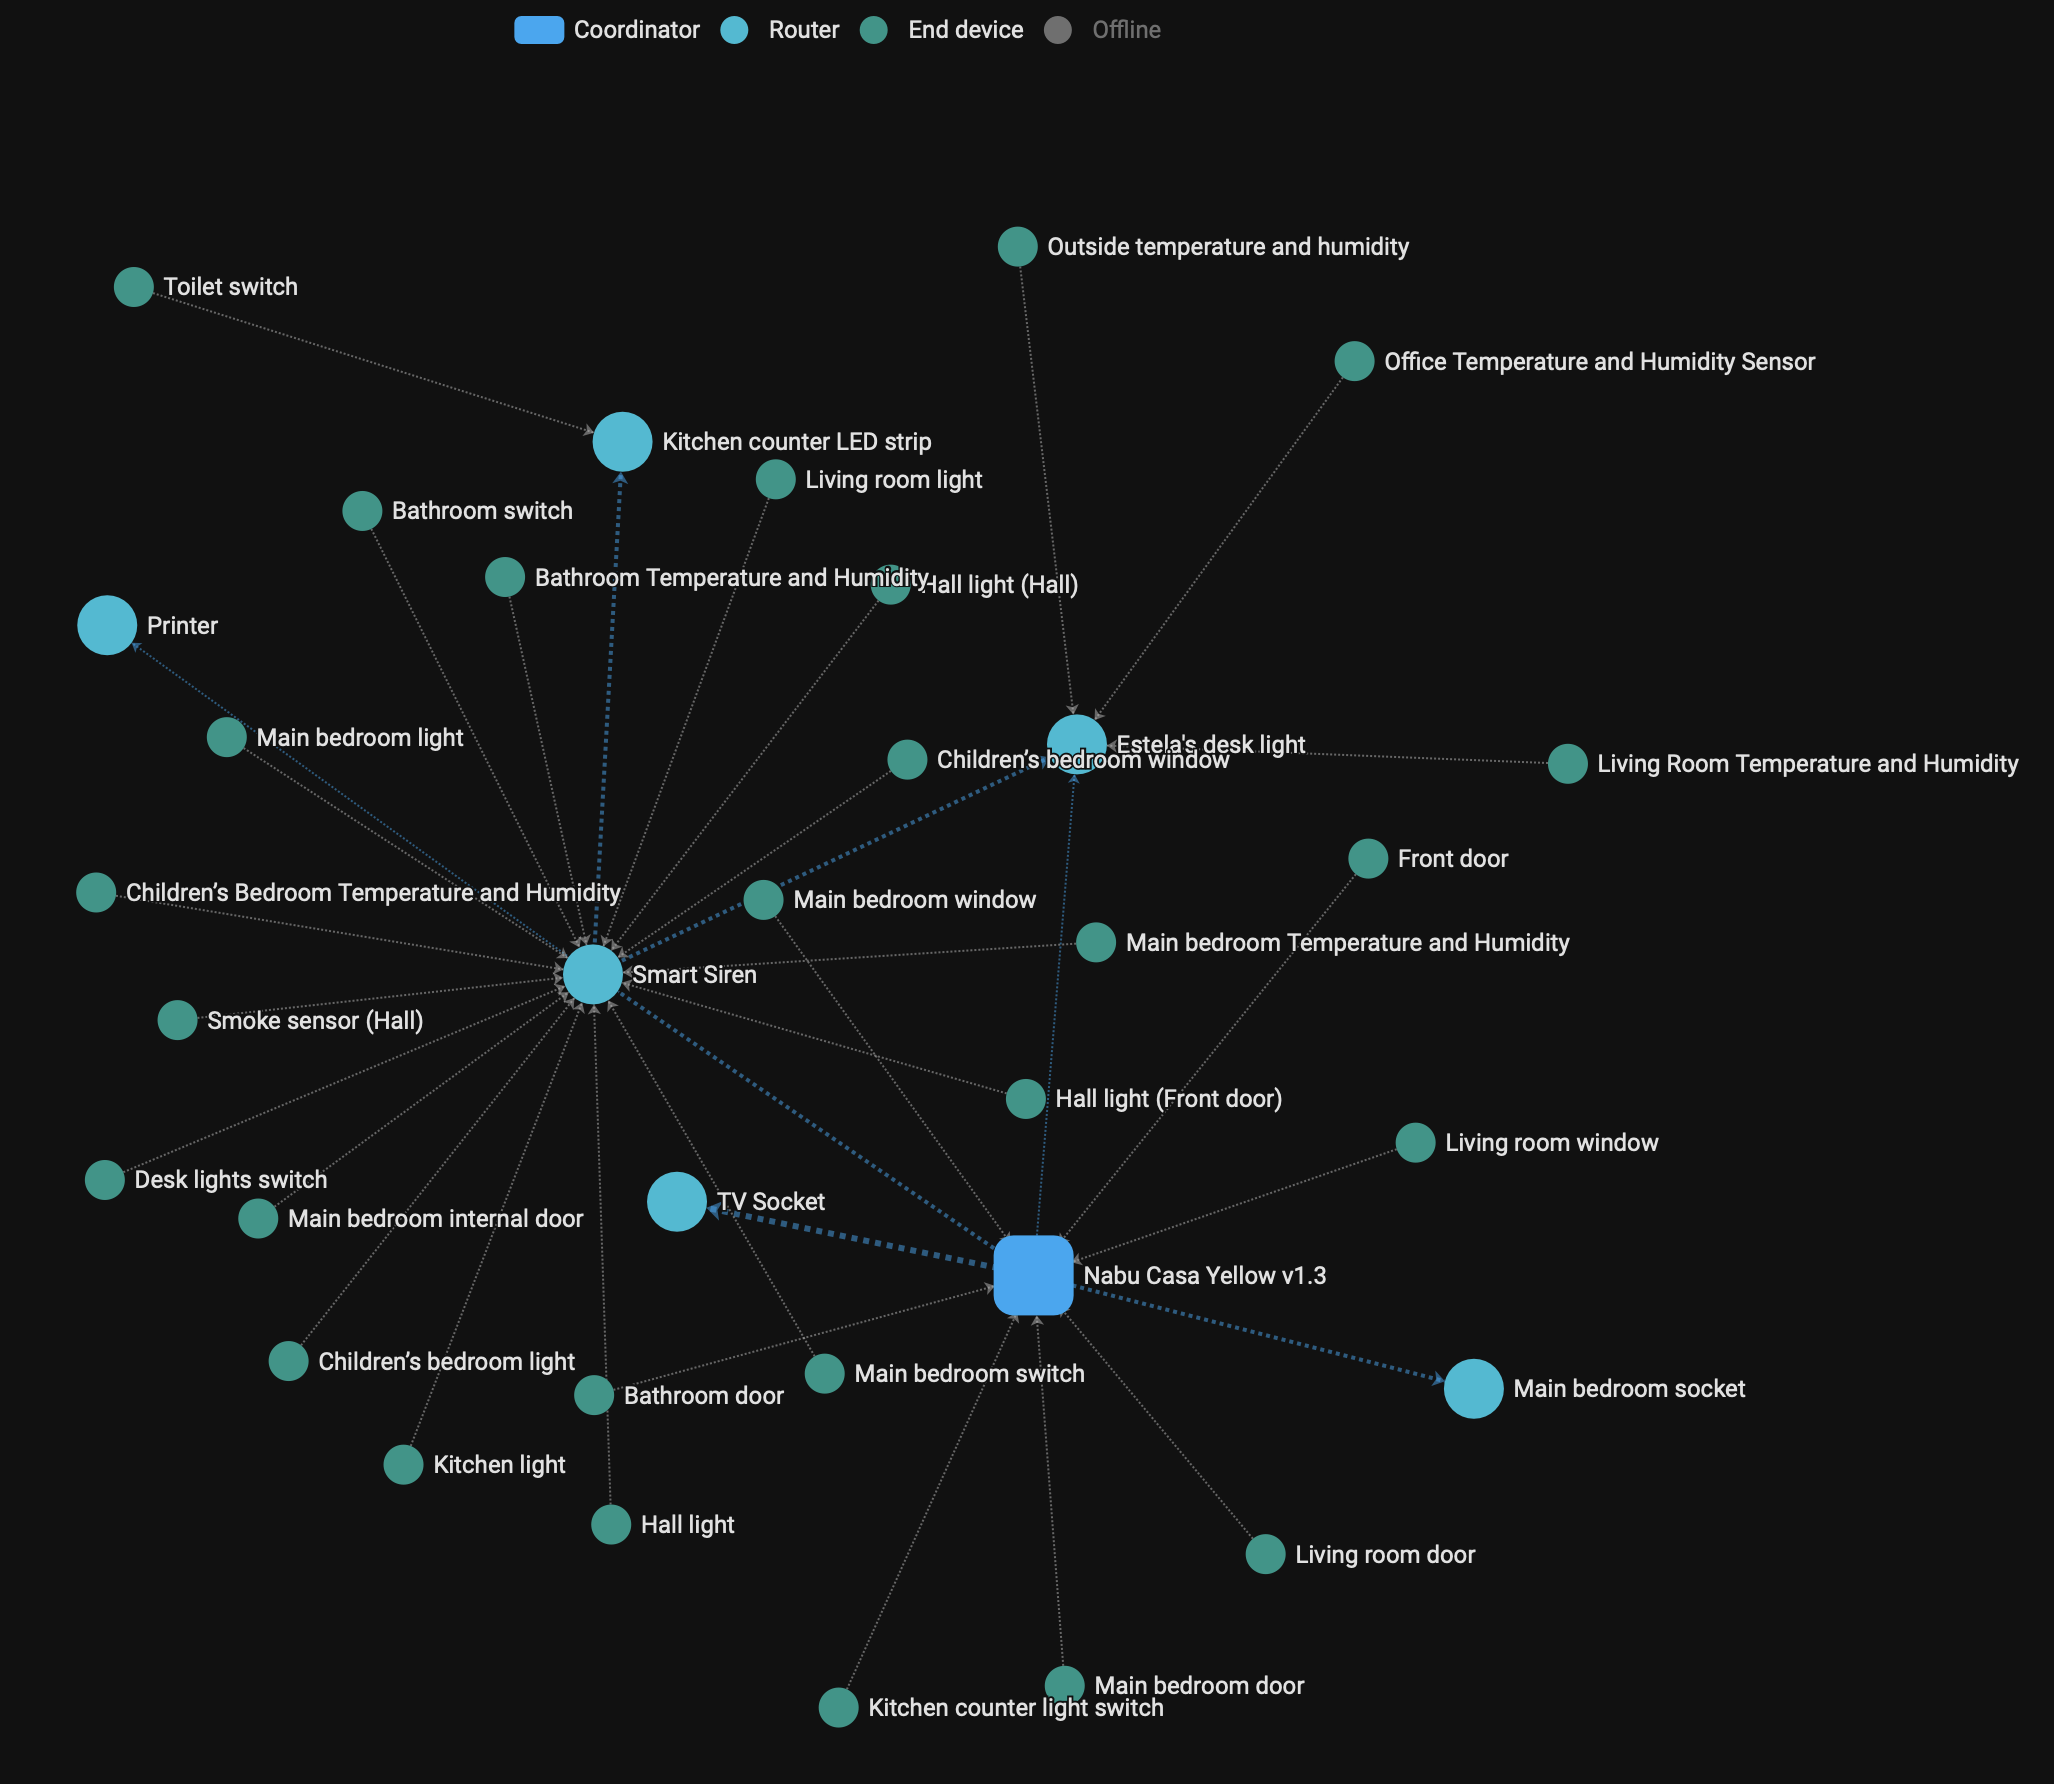
My choice of Zigbee over Wi-Fi wasn’t just about responsiveness—it was also practical. In a modern flat with multiple smart devices, phones, laptops, TVs, and work equipment all sharing the same Wi-Fi network, congestion becomes inevitable. Zigbee devices operate on a separate mesh network that’s purpose-built for low-power, low-bandwidth communication. This means they don’t compete for bandwidth with streaming video, Zoom calls, or backups. It also makes the entire system more scalable and robust.
Take my early experience with TP-Link TAPO smart sockets. While they were affordable and easy to set up, they required Wi-Fi and a round trip to the cloud to toggle a switch—even when everything was physically on the same network. It felt absurd to send an internet request just to turn on some devices. I’ve since replaced them all with Zigbee switches, which respond instantly and don’t require an internet connection at all.
Built via the UI (No YAML Required)
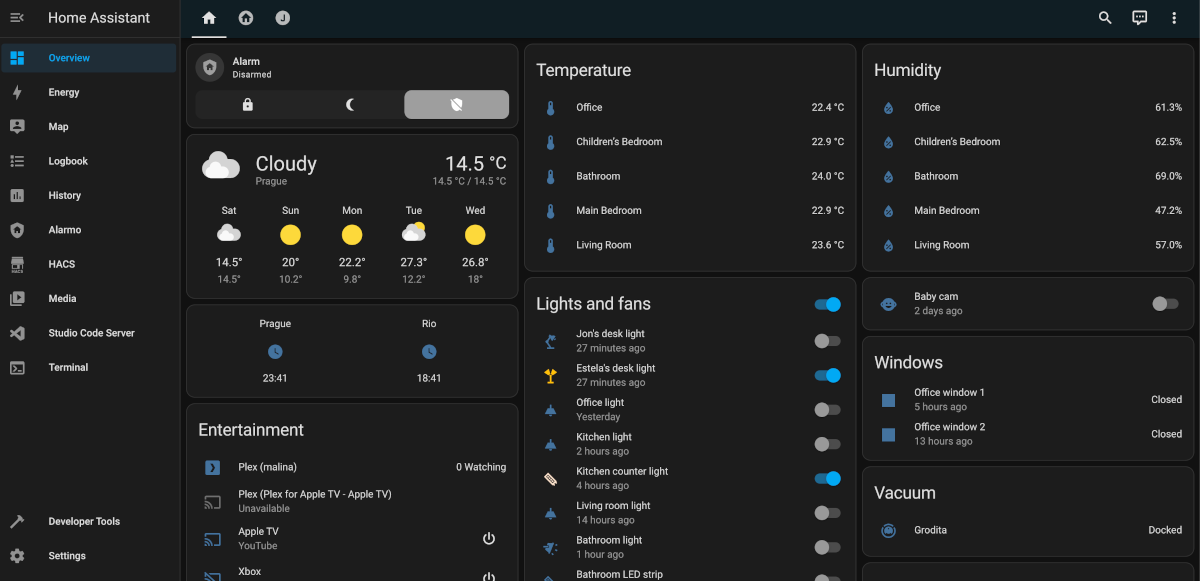
Although Home Assistant gives you full access to YAML configuration, I opted for a UI-first approach. The modern Home Assistant dashboard and automation editor are incredibly powerful—I was able to build nearly everything through the web interface without manually editing YAML files. This made the process smoother, safer, and more approachable. You can still find my configuration and structure documented on GitHub, but most of the logic was built visually.
Everyday Automations
Here’s where the system really shines: automation. I’ve built dozens of small automations that make daily life more convenient, comfortable, and safe. Some of my favorites include:
- You’ve Got Mail: When the mailbox sensor is triggered, Home Assistant sends a notification to my phone so I know mail has arrived—even before I open the door.
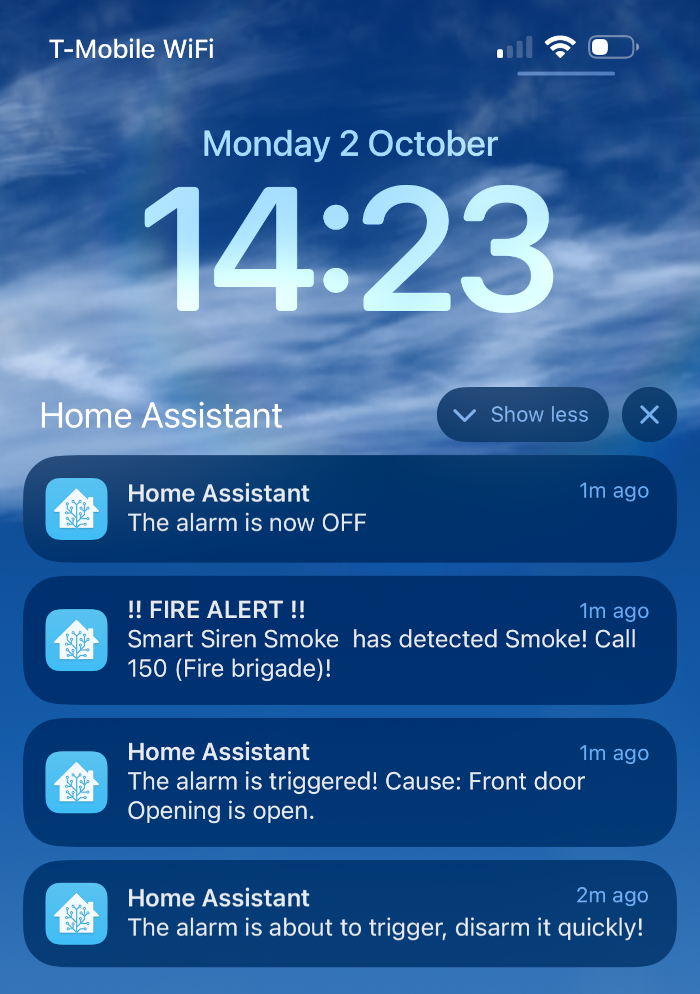
- Smoke Alert: I have three Zigbee-powered smoke sensors—one in the hallway, one in the living room, and another in the office. If any of them detect smoke, Home Assistant instantly notifies me.
- Low Battery Warnings: All sensors are monitored for battery status, and when one falls below a certain threshold, I get notified—no more dead devices without warning.
- Shutter Control: My shutters automatically close after sunset and open at sunrise, using sun elevation as the trigger.
- Gym Prep Mode: When my Withings sleep tracking detects I’ve woken up, a webhook triggers Home Assistant to turn on the lights and get me ready for the gym—before I even touch anything.
- Kitchen LED Strip: A battery-powered Zigbee switch controls a sleek LED strip mounted under the kitchen counter.

- Smart Sockets and Switches: Other battery-powered switches control lights through Zigbee-connected smart sockets.
- Bathroom Fan Logic: If the bathroom door is closed and the light is on, the fan activates automatically.
- Humidity Control: A dehumidifier switches on when the indoor humidity passes a predefined level.
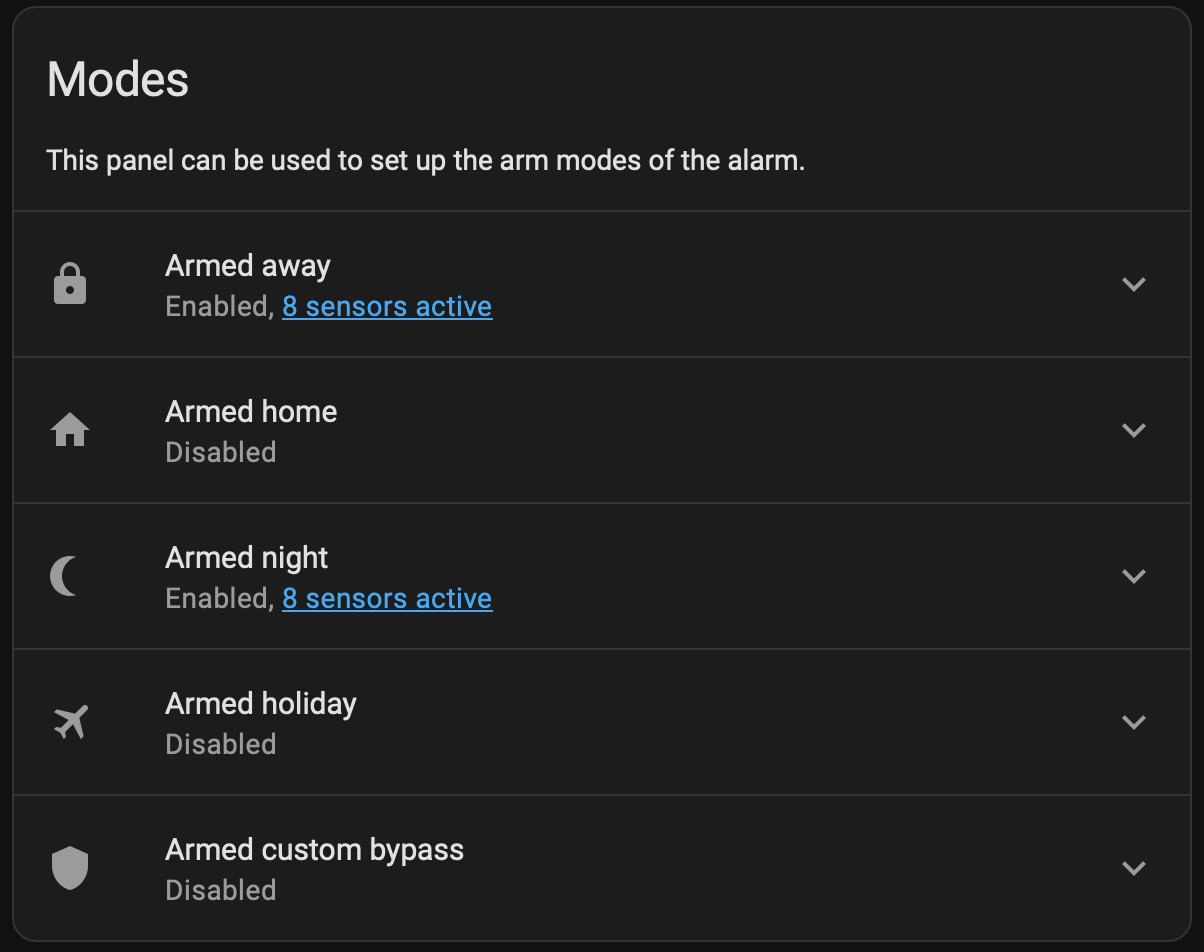
- Alarm System via Alarmo: I’ve integrated a smart siren using the Alarmo custom integration, which is connected to door and window sensors. If the system is armed and a breach is detected, the siren triggers and notifications are sent immediately.
Seamless Integration with Apple Ecosystem
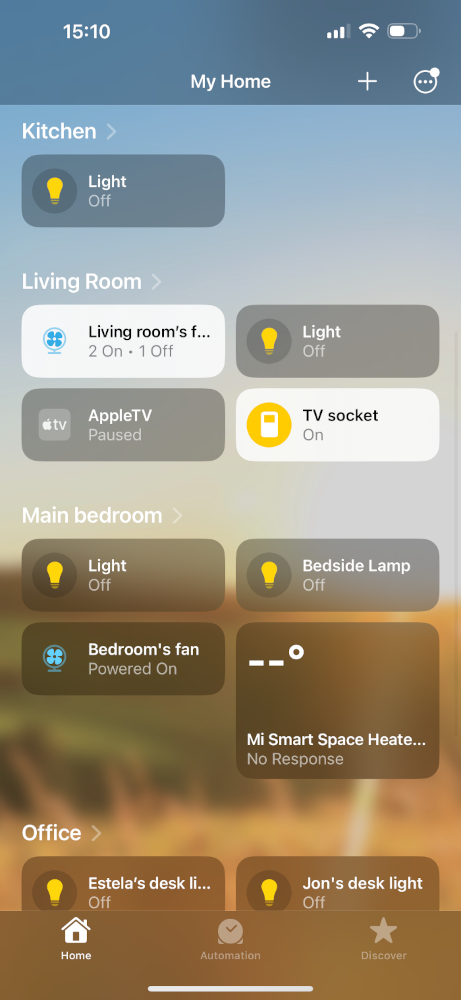
One feature that elevates the experience is the HomeKit Bridge integration. Through this, I’ve exposed all my Home Assistant devices to Apple’s Home app. My HomePods can now see and control every switch, light, sensor, and more. It feels native—“Hey Siri, turn off all the lights in the flat” just works—even for Zigbee devices that have no official Apple support. No subscriptions, no iCloud Home Hub required.
Smarter Lighting, Simpler Bulbs
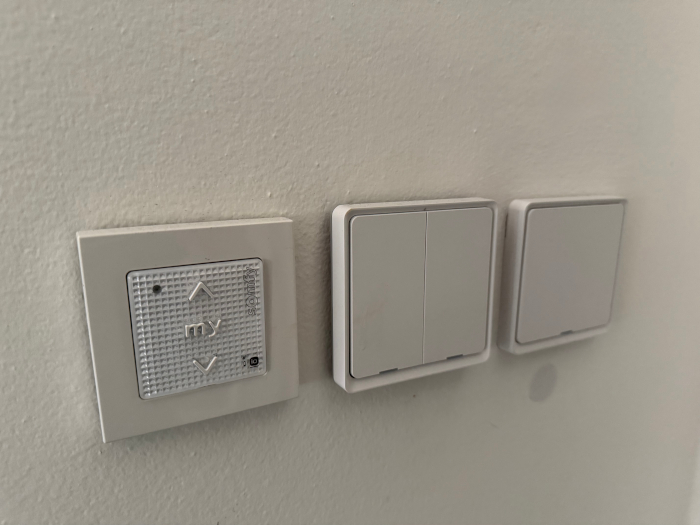
Instead of relying on smart bulbs—which can be expensive and often require constant power—I opted for Zigbee-enabled wall switches. This approach allows me to use standard light bulbs throughout the flat while maintaining complete control via Home Assistant. The lights behave like any normal wall-controlled circuit, but are also fully accessible for automation, scheduling, and remote control. It keeps things simple for guests and family members while preserving smart functionality in the background.
NFC Tags and Touch-Based Automation
Another layer of interaction I’ve embraced is NFC tags. These small, inexpensive stickers are placed throughout the flat and programmed to trigger specific automations when tapped with my iPhone.
For instance, a tag near the bed activates a “Good Night” routine—dimming lights, turning off devices, and arming sensors. A tag by the front door toggles “Leaving Home” mode, shutting everything down and confirming the flat is secure. It’s a subtle, tactile way to control your environment, and it works offline.
Outdoor Sensing
Initially, I used a standalone weather station—similar to this model—to track outdoor temperature. While it served its purpose, it had a major limitation: it wasn’t smart. It couldn’t connect to Home Assistant or any other system. To fully integrate weather data into my automations, I replaced it with an Aqara temperature and humidity sensor placed just outside. Since it’s Zigbee-powered, it communicates seamlessly with Home Assistant, just like my indoor sensors. Now, outdoor conditions can influence automations too, such as adjusting ventilation or sending alerts when it’s too cold or humid outside.
Hallway Control Panel
To make the smart home even more accessible to everyone in the flat, I’ve mounted a Huawei tablet in the hallway that runs the Home Assistant dashboard full-time. It acts as a dedicated control panel where we can view sensor data, toggle lights, check the status of the alarm, and access custom dashboards. It’s a great fallback for guests or anyone who prefers touch over voice or automation.
Xiaomi Devices and Wi-Fi Integration
Not everything in my smart home runs on Zigbee. I also use Xiaomi smart fans and a Roborock vacuum, both connected to Home Assistant via Wi-Fi using the Xiaomi Miio integration. While I generally prefer local control, these devices are reliable enough and offer valuable capabilities—like scheduling fan usage during the night or triggering vacuum runs while we’re away.
Even though these devices connect via Wi-Fi, the Miio integration communicates with them locally over the network, not via the cloud. That means Home Assistant sends commands directly to the device’s IP address on my local network. This keeps the experience fast, reliable, and private—without requiring any round trips to external servers.
Shutter Integration with Somfy TaHoma Switch
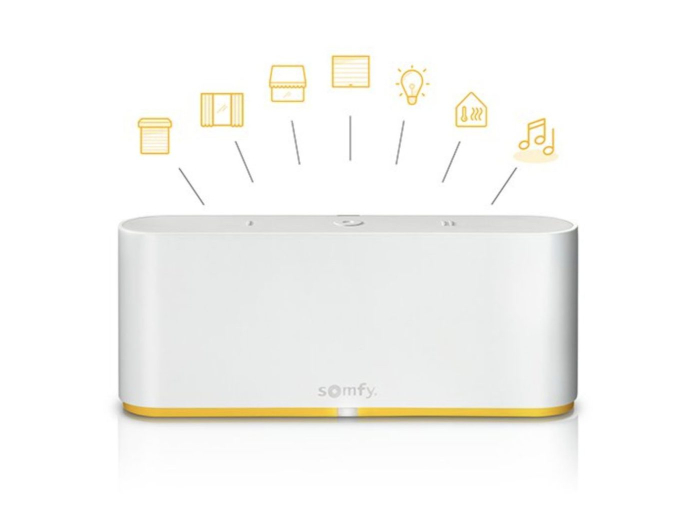
My shutters weren’t Zigbee-compatible out of the box—they required a TaHoma Switch, which acts as a bridge between the proprietary shutter protocol and Home Assistant. Once configured, the TaHoma Switch exposed each shutter as an entity in Home Assistant, allowing me to control them through automations or directly from the dashboard. And because I’ve integrated Home Assistant with the HomeKit Bridge, these shutter controls are also available via Siri on my HomePods. Voice commands like “Hey Siri, set the office shutter to 50%” are now fully supported.
If you’re curious about how it all fits together, I’ve open-sourced the entire setup at github.com/jonathas/homeassistant-config. It’s modular, UI-driven, and designed to scale—from simple automations to complex routines.

